Co-authored by Trisha Kholiya
Photos by Andrea Schlitt and Aanchal Garg
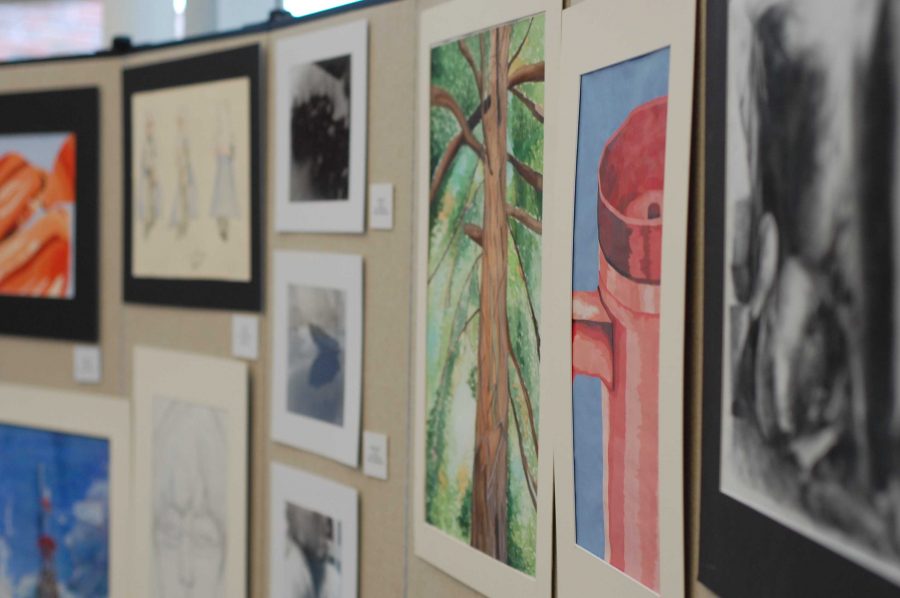
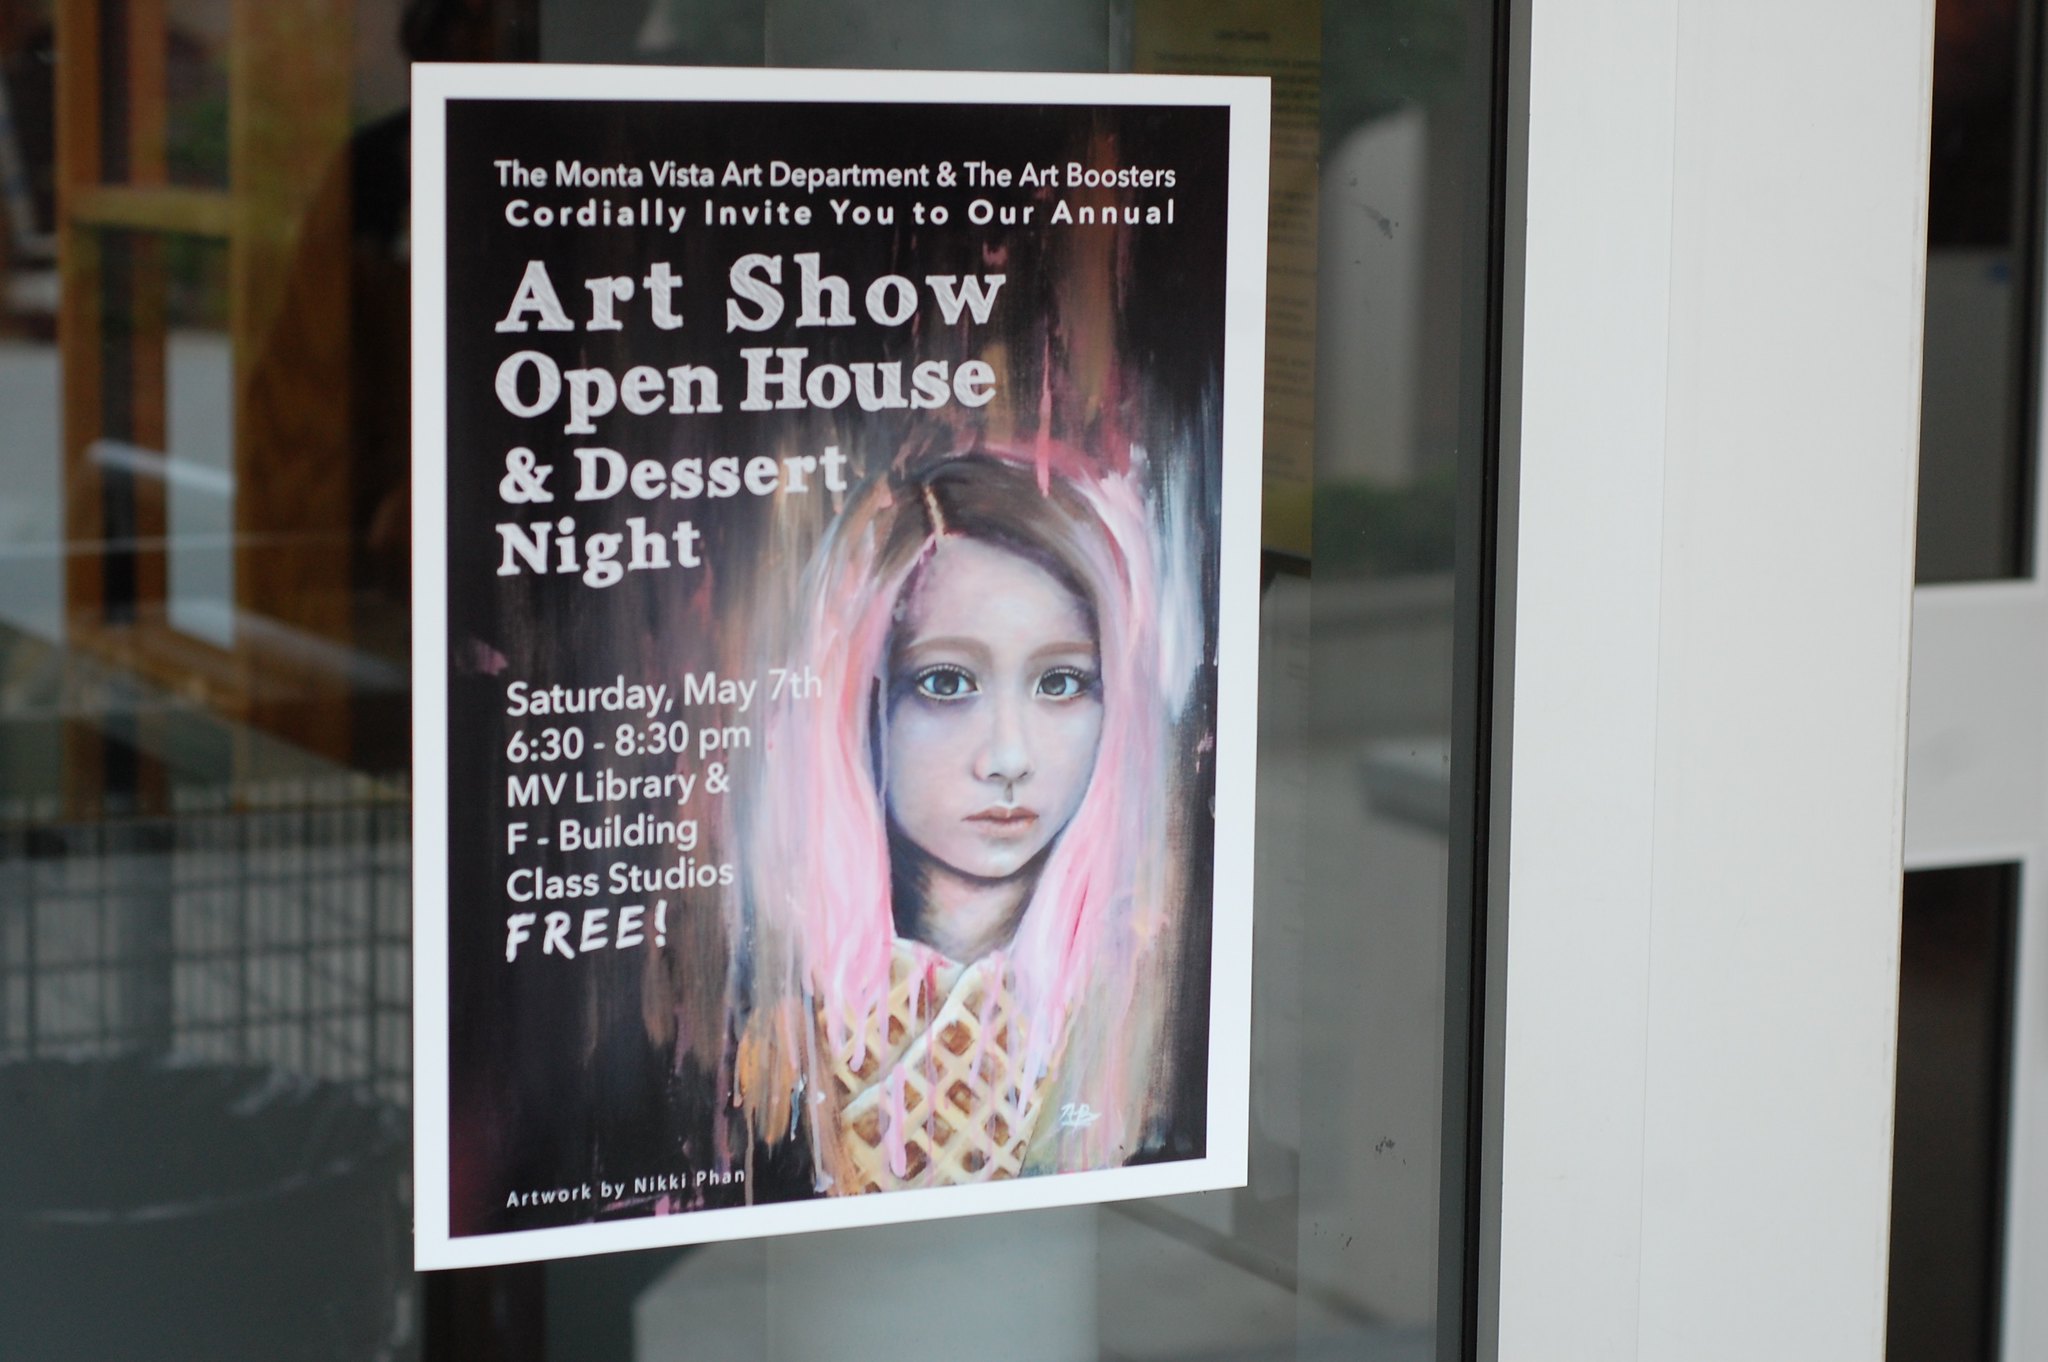
It’s a Saturday evening, May 7, and the Art Show has just begun. Classical music chimes in the air as students and parents pass each other to see all the work students in MVHS art classes have done over the course of the year. Photos and paintings are mounted on the concrete walls, sculptures sit on the tables and aisles and shelves. Musicians continue taking turns playing solos in a corner. The cellist plays her instrument seamlessly, dragging her bow across the strings while a group of absorbed onlookers gathers. Above them is a puppet mounted on the ceiling that flutters and shudders as the vibrations from the music travel throughout the room. Next to them are flip books that younger children hold in their hands while gasping in awe over its marvel.
But that wasn’t all. The art classrooms in the F building were open for attendees to visit and within them laid collections of photography, drafts, paintings and sculptures.
For the students who created them, art is their passion. Three students explain how they were able to manifest an idea that turned into a work of art.
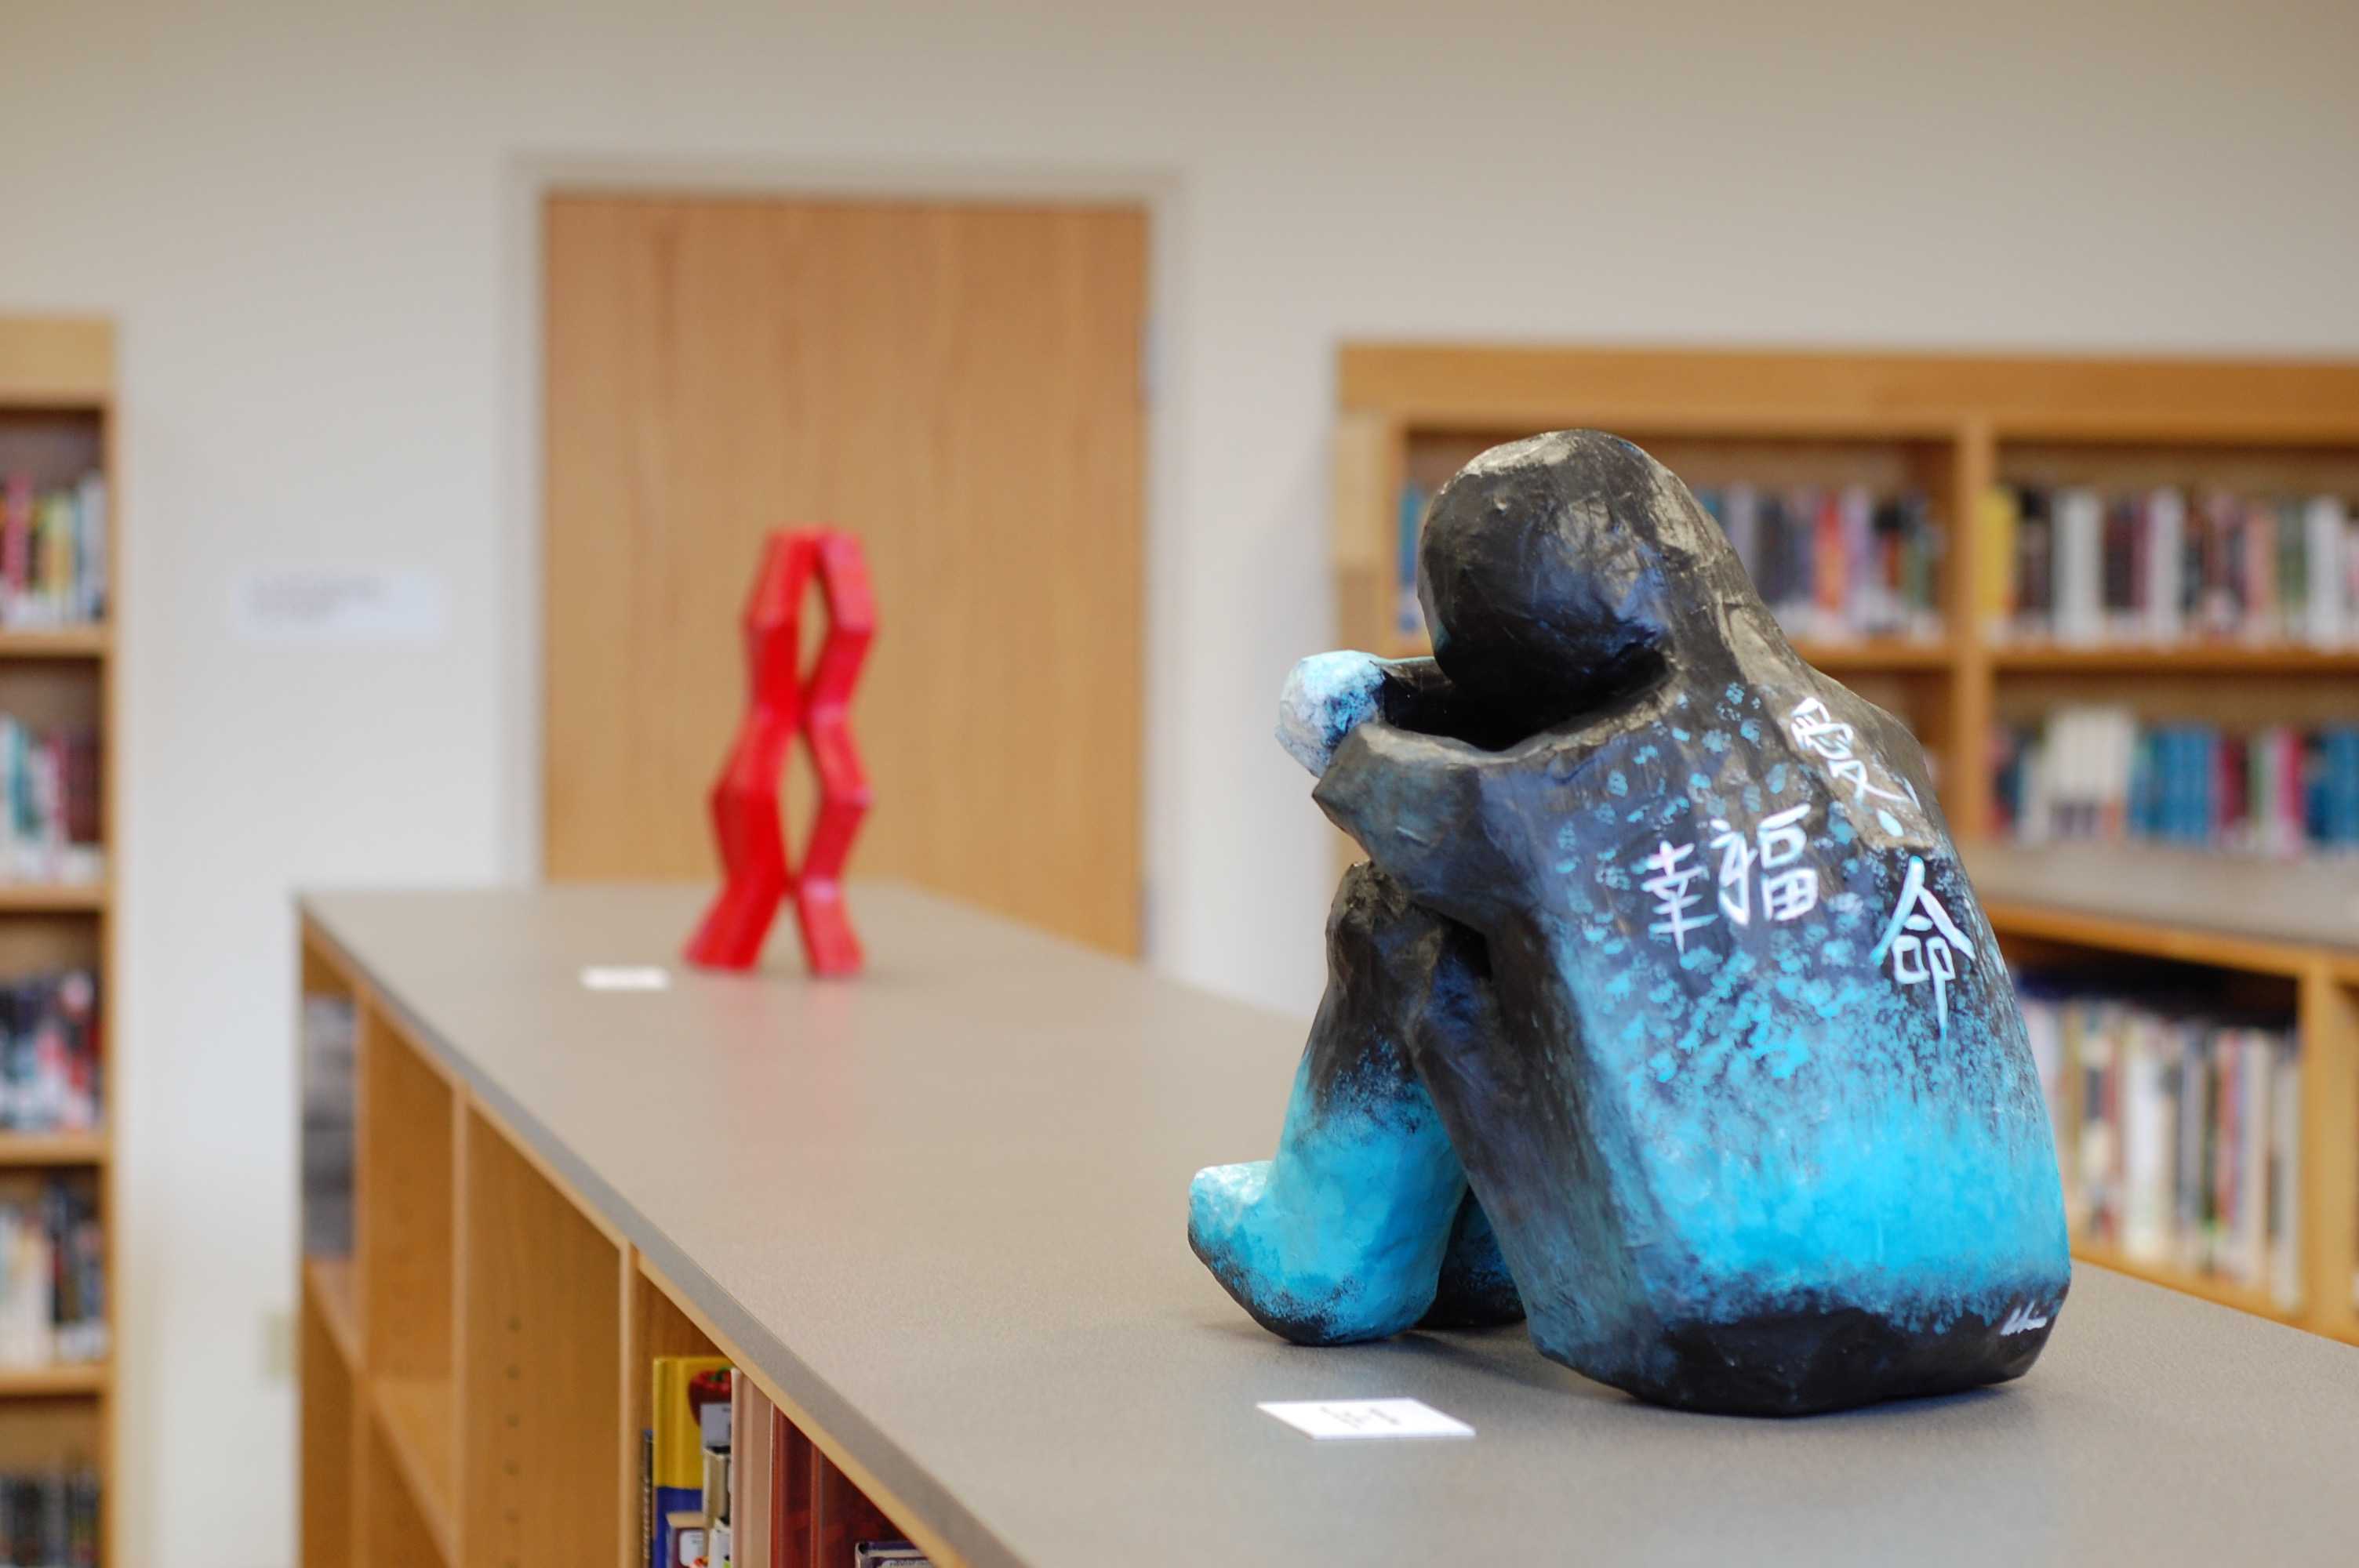
It happened in her 3-D design class.
It began as simply a concept in sophomore Sabrina Hung’s head, an idea to make a sculpture that captured the unique texture and look of paper mache. But from there, the idea grew into splashes of sky blue and black on the rigid newspaper and masking tape structure. Strokes of white paint showcase Japanese kanji characters, translating to love, life, happiness and dream.
Dream. Just like how her idea started.
1.Think of a design of an interesting sculpture.
2.Mold wires to make a foundation. Add masking tape to define the structure.
3.Mix wheat flour to water in a 1:4 ratio to make paper mache paste.
4.Rip up small pieces of newspaper and fully submerge them in the mixture. Gently lay the pieces over the foundation until there are three full layers.
5.Let it dry fully before repeating for two layers with pieces of paper bag.
6.Let dry once again before painting over with a layer of gesso, a chalk based white paint.
7.Add whatever colors or designs with paint you want until satisfied with final product.
The idea started out as a collection of sketches of faces. Each face faded into another and were drawn incoherently. The faces blurred into what seemed like sneezes. And that was when sophomore Ashley Chang figured out what she would do for her art project.
A sneeze.
1.Map out a story idea for how the book should be.
2.Draw the key frames of the book. Start with the first, middle frames and last.
3.Then, the sketches are mapped out.
4.Do the key frames between the original frames to begin making the flip book more fluid.
5.Determine which parts need more details.
6.To make sure the drawing between the cards lineup to make a clear story map, use a light box or light source to see the lines.
7.Keep flipping through the book to make sure the drawing comes to life.
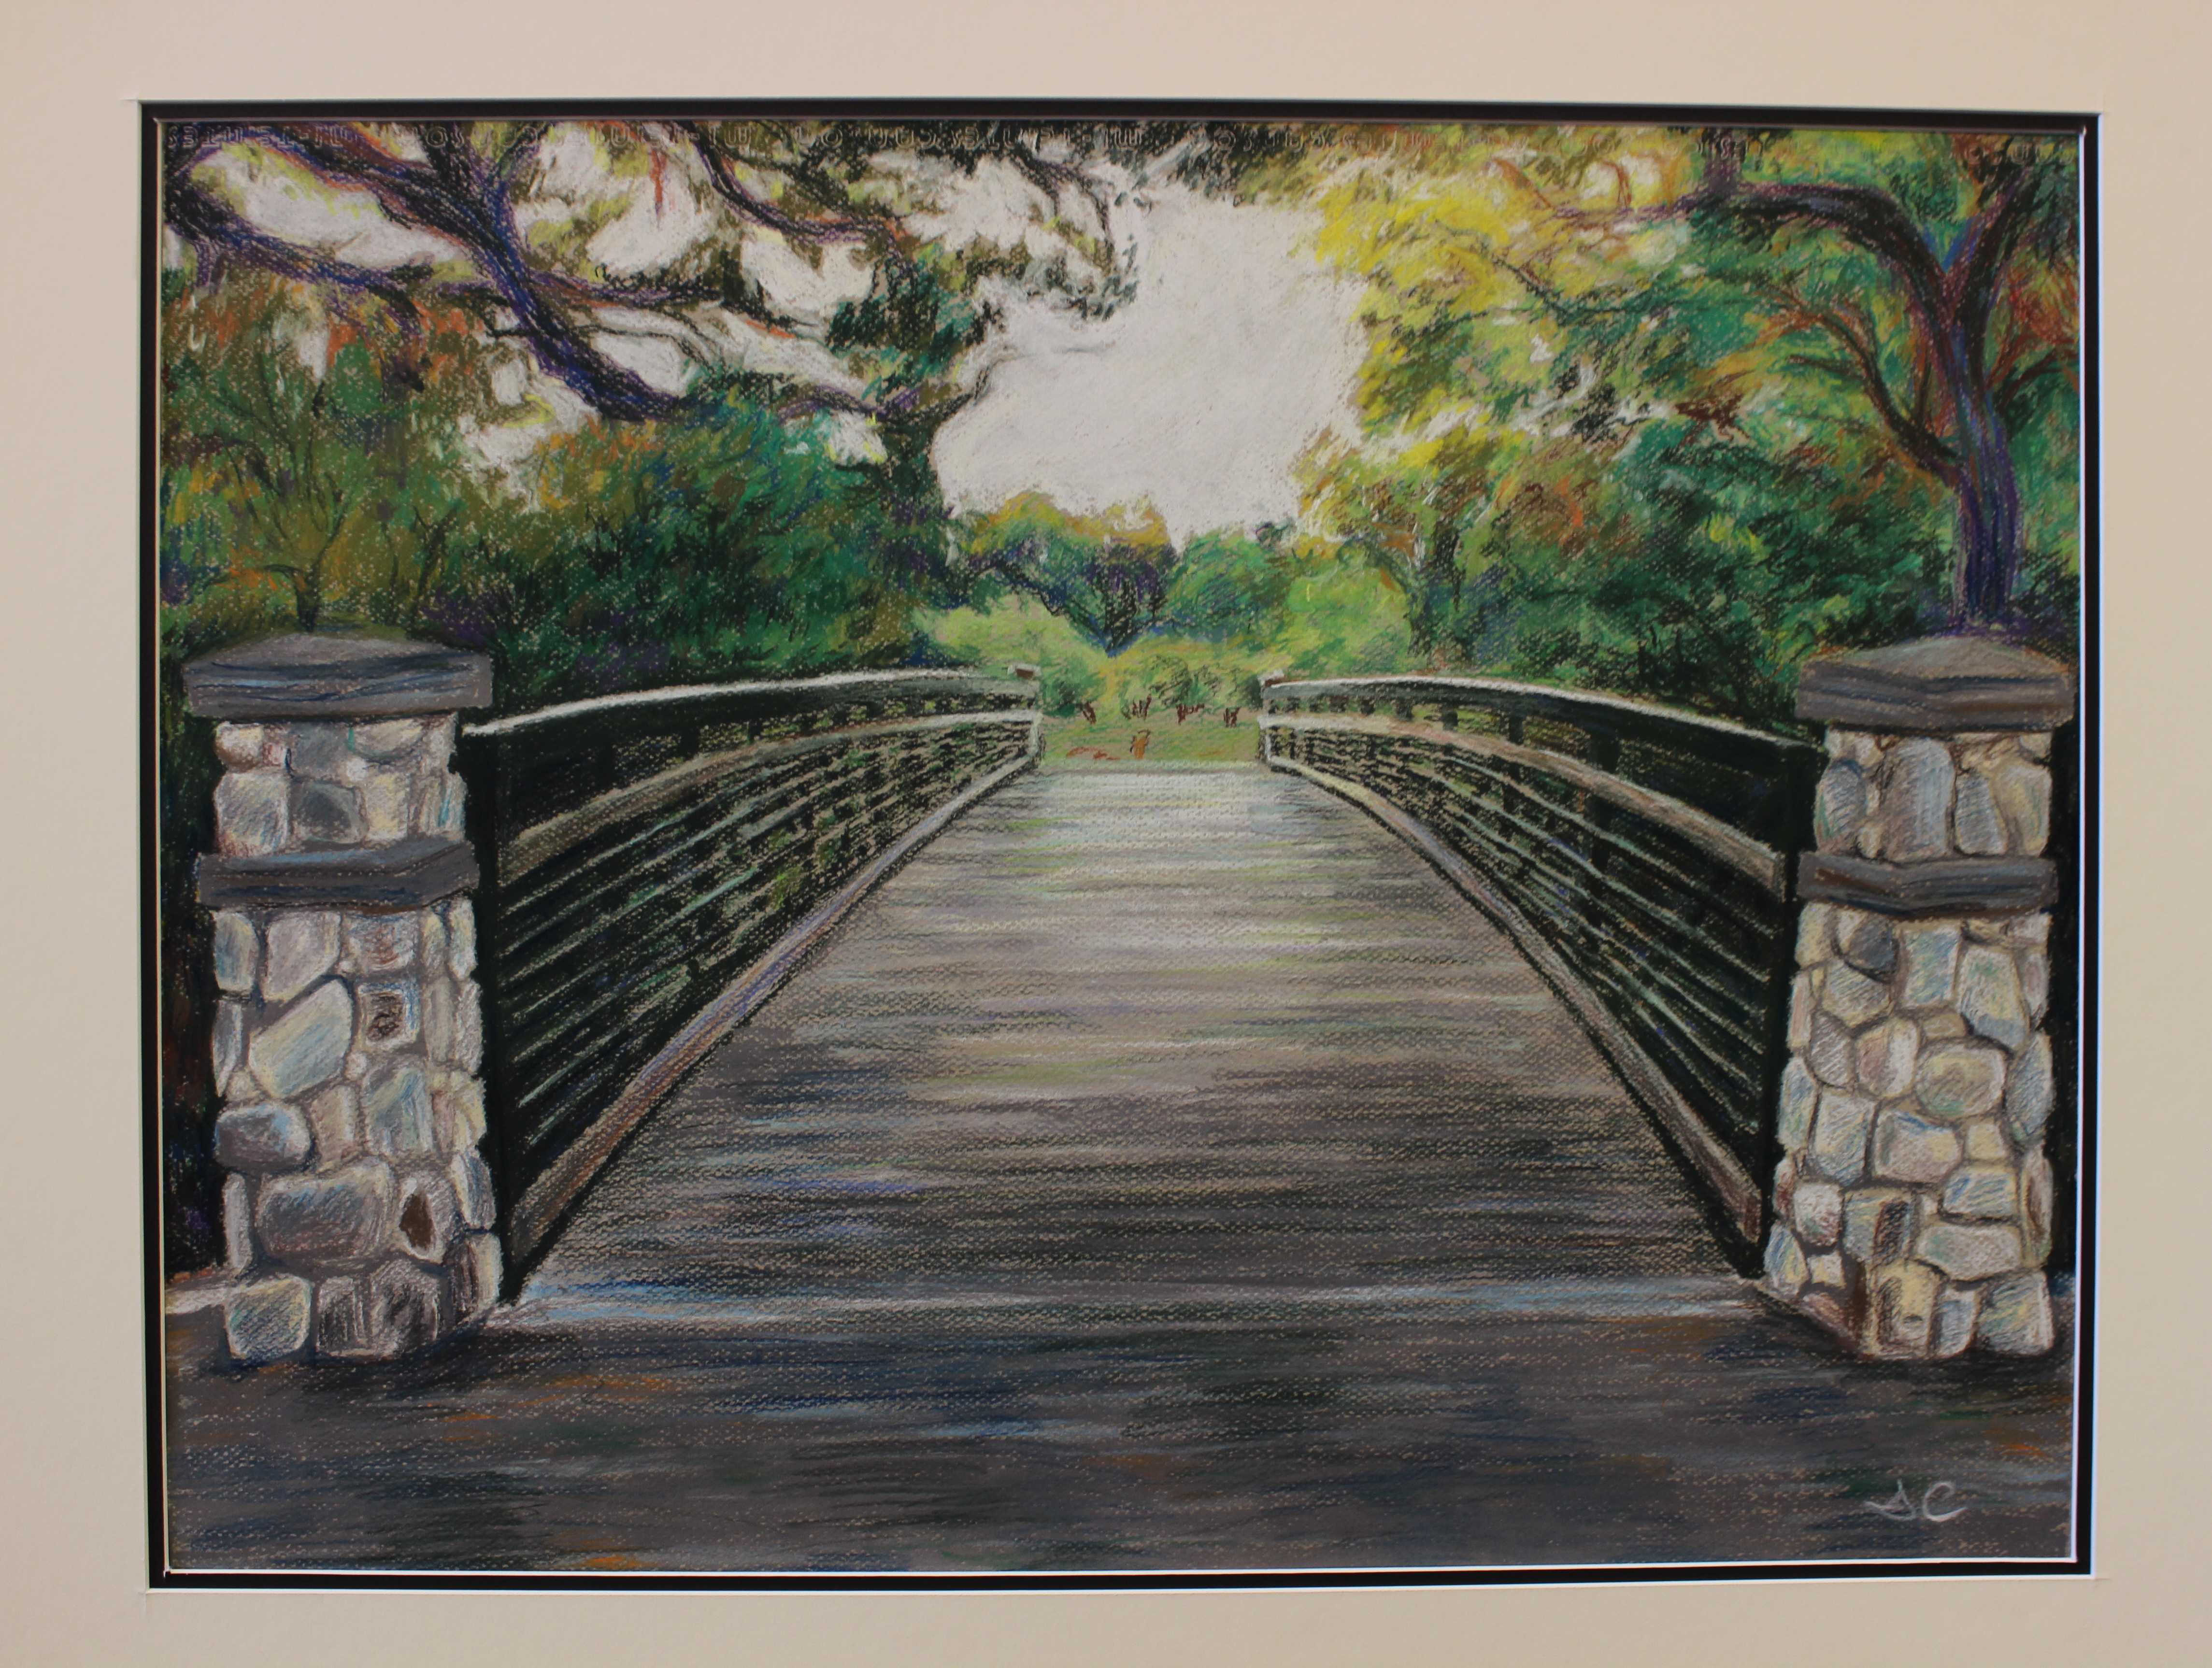
She looked through her sketches for inspiration. Landscape art was her favorite thing to do as an artist. And junior Sarah Chu was walking through Blackberry Farm when she sat by the bridge, sketching it over and over from different angles.
One of those prototypes would turn into this project.
1.Find something to draw and take a lot of pictures for later reference.
2.Choose an angle to draw it.
3.Start drawing straight on the canvas by sketching the general structure.
4.Look through the photos that you took of the landscape. Identify colors and highlights of the photos and add other colors to highlight the painting using pastel.
5.After applying color, keep looking to see how it turns out and if you didn’t like it, add more color.
6.Add details with pastel.


